DIY Light Display: How To Install Neon Lights
Setting up your very own light display is a great way to personalise the appearance of your home or business exactly the way you want it. As LED technology has come down in price and has proven to be endlessly versatile, everyone from video game streamers and YouTube content producers to creative home decorators can join in on the fun.
Setting up neon lights, however, requires some forethought and planning. Not that it’s any harder than setting up LED light strips or plugging in a lightbulb, but more so that the strong vibrant neon colours can be quite a strong statement piece in a room.
If you are looking to install neon lights from Neon Party, below are four options for simple, hassle-free installation to get you started:
1. Screw Fix
The most common method of setting up your neon sign is to fix it to the wall or other vertical surface with screws. Screw fixing keeps the sign securely in place and is ideal for more permanent affixing of the sign.
This method of installing a neon sign does require a screwdriver and some good ol’ elbow grease, but the good news is that it’s simple and easy because our signs are pre-drilled on the rear acrylic panel.
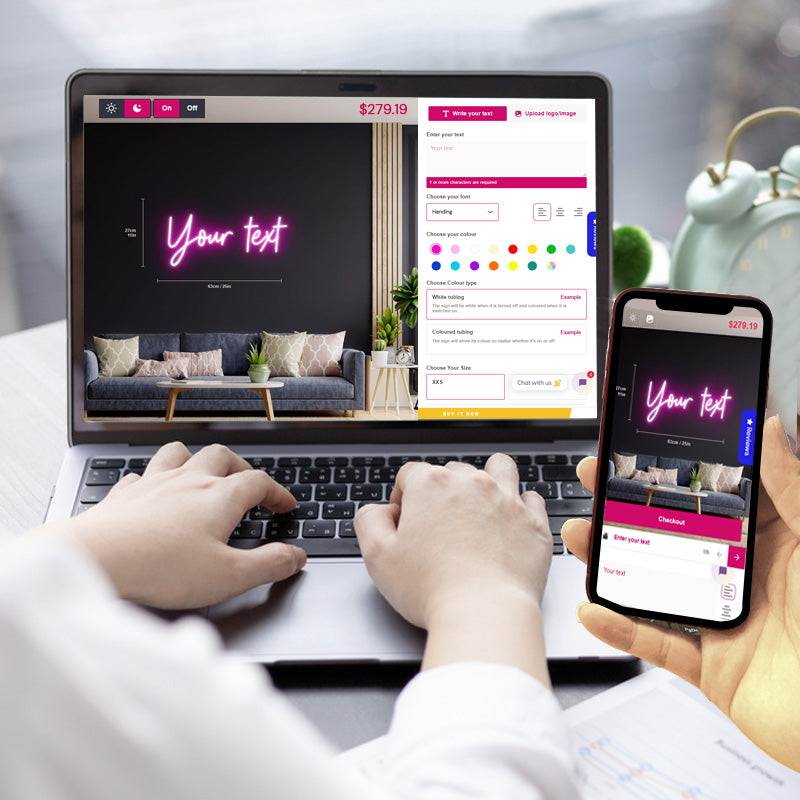
When checking out your favourite design on our shop, scroll down to “Select Accessories” and ensure that “Screw Fixing” is the highlighted option (it’s the default selection).
Then hold the sign up at the desired location with the drilled hole backing directly over the surface and drill in the screws to the wall/surface. This is best suited for our standard signs weighing between 3-6kg. Consider alternative methods if the sign is significantly larger and/or heavier.
2. Metal Chain
Don’t want to drill holes in your wall? No problem! Most neon signs can be securely hanged from walls, shelves, green screens, and other vertical surfaces with a metal chain. Under the “Select Accessories” drop-down menu on our shop, select the option “Hanging with Chain” and your sign will be shipped with a sturdy metal chain.
Naturally, the chain should be anchored to a sturdy point capable of handling the weight of the sign. This option is suitable for most of our standard signs. Heavier signs should be installed professionally.
3. Steel Wire
Want to hang your neon sign from a ceiling and be the centre of attention in your home or business? Hang your neon sign with steel wire, securely affixed to the sign and ready to be mounted to a ceiling or other overhead surface.
We can supply the steel wire for an additional $10. Simply check “Hanging with Steel Wire” on the product description of your desired sign. Alternatively, you can hang it yourself using sturdy wiring and a hook, but why not save some time and effort and request our steel wire at checkout?
4. Adhesive Tape
Another popular installation method that is useful for small neon signs is to use adhesive tape. It’s up to you how to go about taping the sign to the wall, but double-sided adhesive tape is a clean solution that leaves no visible marks. It’s also great for those unwilling to drill holes in their walls!
Avoid using adhesive tape on heavier signs as they will most likely fall down. Only use tape on light and small signs less than 3kg.
Neon Party
Select from our wide range of high-quality LED neon signs at Neon Party, or create your very own personalised sign!